Resin flooring is a versatile and popular choice for various commercial and residential spaces. From its durability and aesthetic appeal to its low maintenance requirements, resin flooring offers numerous benefits. If you’re considering installing resin flooring in your space, understanding the installation process is crucial. In this blog post, we will walk you through the typical steps involved in the installation of resin flooring hiring industrial resin flooring specialists, giving you a better understanding of what to expect.
Surface Preparation
The first step in the installation process for epoxy resin floors is thorough surface preparation. This involves cleaning the existing floor, removing any contaminants, and repairing any damages. The goal is to create a clean, smooth, and properly levelled surface to ensure optimal adhesion of the resin flooring.
Priming
After surface preparation, a primer is applied to the prepared floor. The primer acts as a bonding agent, promoting adhesion between the substrate and the resin flooring. It helps to enhance the durability and longevity of the finished floor.
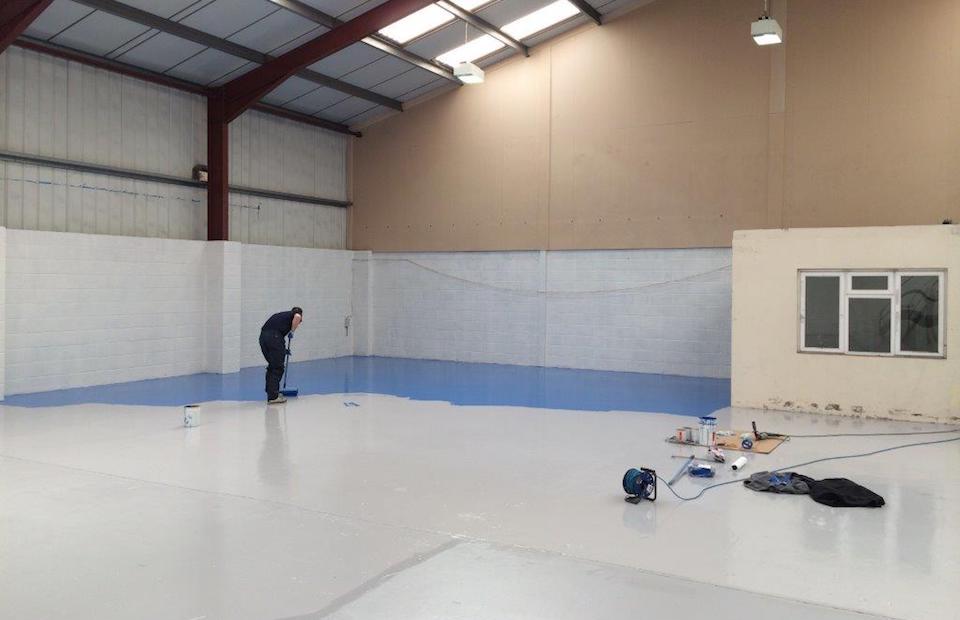
Application of Resin
Once the primer has cured, the resin is applied to the floor. Depending on the type of resin flooring chosen, this can be a liquid epoxy or polyurethane resin. The resin is poured or spread evenly over the surface using specialised tools and techniques.
Adding Decorative Elements (Optional):
If you opt for a decorative resin flooring, this is the stage where additional design elements, such as coloured flakes, pigments, or aggregates, can be added to enhance the aesthetic appeal of the floor. These decorative elements can create unique patterns, textures, or visual effects.

Curing and Drying
After the resin is applied, it needs time to cure and dry. The curing time can vary depending on the type of resin used and environmental conditions. During this stage, it is important to restrict foot traffic and avoid any contact with the surface to ensure a smooth and flawless finish.
Optional Topcoat Application
To further enhance the durability and performance of the resin flooring, a topcoat may be applied. The topcoat provides an additional layer of protection against abrasion, stains, and chemicals. It also helps to enhance the gloss or matte finish of the floor, depending on the desired aesthetic.
Final Inspection and Cleaning
Once the resin flooring has fully cured, a final inspection is conducted to ensure the quality and integrity of the installation. Any touch-ups or necessary repairs are addressed at this stage. Finally, the floor is thoroughly cleaned to remove any debris, dust, or residues, leaving behind a pristine and polished surface.
The installation process of resin flooring involves careful surface preparation, priming, resin application, optional decorative elements, curing, topcoat application, and a final inspection. It is essential to work with experienced professionals who understand the nuances of resin flooring installation to ensure a high-quality and long-lasting result. By knowing what to expect during the installation process, you can better plan for the project, have realistic timelines, and enjoy the benefits of a beautiful and durable resin floor in your space.